How to Stargaze With Just Your Eyes: A Beginner's Guide
How do I start stargazing without any equipment?
On this page
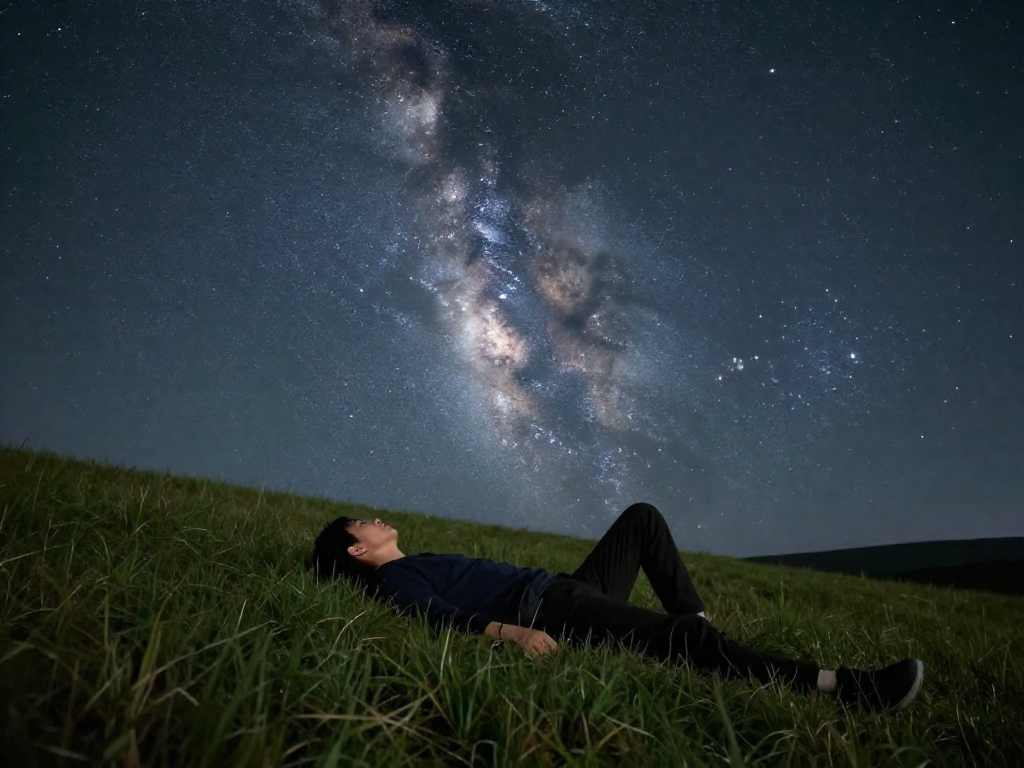
Open by reassuring the reader that they already own the only tool they need—their own eyes—and that the night sky is more accessible than it looks. Promise a simple, step-by-step path from "I have no idea where to start" to confidently spotting planets, constellations, and the Milky Way, all without spending a cent or learning a single equation.
Why You Don't Need a Telescope to Start
Here's the secret that gear shops won't lead with: your eyes are already an incredible stargazing tool. On a reasonably dark night, you can spot a few thousand stars, every planet visible without help (Mercury, Venus, Mars, Jupiter, and Saturn), the Moon in all its phases, and even the faint, milky band of our own galaxy—the Milky Way, which is simply the combined glow of billions of distant stars in the galaxy we live inside.
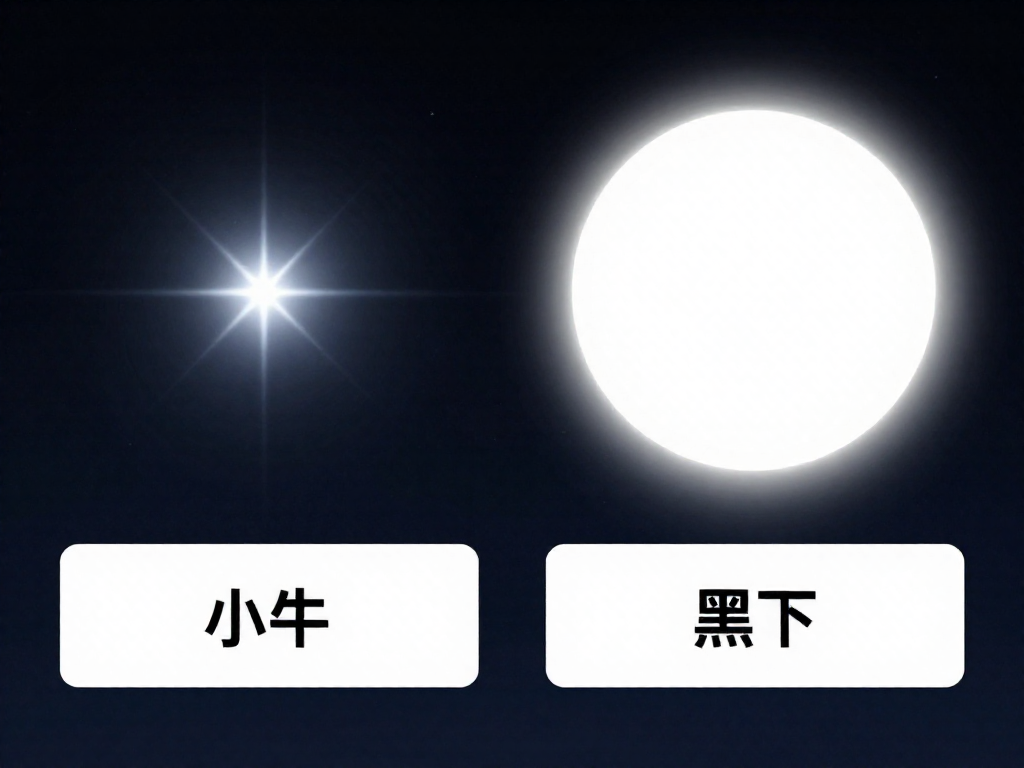
So why skip the telescope at first? Because it can actually get in the way. A telescope zooms in tightly, like looking at the world through a drinking straw. That narrow view makes it surprisingly hard to find anything when you don't yet know your way around the sky. Beginners often end up frustrated, staring at a black circle.
Learning with just your eyes builds the one skill every astronomer needs anyway: reading the sky—recognizing patterns, tracking how things move, and knowing where to look. Those skills make a telescope far more rewarding later.
The real requirements are refreshingly cheap: skies that are at least a little dark (away from bright streetlights), some patience, and a bit of prep.
Quick takeaway: You can see thousands of stars, all five naked-eye planets, the Moon, and the Milky Way with no equipment at all. Start with your eyes—the telescope can wait.
Step 1: Find a Dark Spot and Let Your Eyes Adjust
Here's the single biggest upgrade to your night sky, and it costs nothing: get away from light. Streetlights, porch lights, and glowing windows flood your eyes and wash out all but the brightest stars. You don't need to drive into the wilderness—even a backyard works if you turn off nearby lights and face away from any glare.
Once you're in the dark, the magic happens slowly. Your eyes go through dark adaptation, which simply means they get more sensitive to faint light over time, like walking into a movie theater and gradually seeing the seats. This takes about 20 to 30 minutes to fully kick in. The catch? One glance at a bright phone screen resets the clock, and you're back to square one.
To avoid that, use red light. Red wavelengths barely disturb your night vision, so a red flashlight—or your phone's built-in red filter (often called "night" or "red" screen mode)—lets you check a star map without blinding yourself.
There's one thing you can't switch off, though: light pollution. This is the glow from a city's combined artificial lights scattering in the air, brightening the sky and hiding fainter stars. Under heavy light pollution you might see only a few dozen stars; under truly dark skies, thousands. To find a darker spot near you, NASA and the dark-sky community recommend free light-pollution maps (such as the one at lightpollutionmap.info), which color-code how dark each area is.
Quick takeaway: Get away from lights, wait 20–30 minutes for your eyes to adjust, and use red light only. That alone reveals far more stars.
Step 2: Start With the Easy Wins (Moon, Planets, Bright Stars)
You don't need to hunt for faint, tricky targets on your first night. The sky offers a few showstoppers that practically wave at you—and finding them builds the confidence to explore further.
Begin with the Moon. It's the brightest object in the night sky and the most rewarding for beginners. Even without any equipment, you can see darker patches (ancient lava plains the early astronomers mistook for oceans, which is why they're called maria, Latin for "seas") and the bright, rugged highlands. The Moon looks different every night as sunlight strikes it from new angles, so it never gets boring.
Next, learn to spot a planet. Here's the simplest trick: stars twinkle, planets don't. Stars are so far away they appear as single pinpoints, and Earth's shifting air makes that point shimmer. Planets are close enough to show as tiny disks, so their light stays steady and calm. If you see a bright "star" glowing with a smooth, unwavering light, you're probably looking at a planet.
Four planets are visible to the naked eye at the right times of year: Venus (dazzlingly bright, low after sunset or before sunrise), Jupiter (steady and brilliant), Mars (with a warm orange tint), and Saturn (golden and calm). A free stargazing app can tell you which are up tonight.
Finally, anchor yourself with the brightest stars—Sirius (the brightest of all), Vega, and the orange giant Betelgeuse. Treat them as landmarks; once you know them, finding everything else gets easier.
Quick takeaway: Start with the Moon, then find a non-twinkling planet, then learn three bright stars as your sky anchors.
Sources: NASA Solar System Exploration; ESA.
Step 3: Learn a Few Constellations as Your Sky Map
Once your eyes are adjusted and you've spotted a few bright stars, the next trick is turning that scattered sprinkle of points into a map you can actually navigate. The secret? Learn just two or three constellations—patterns of stars that early skywatchers connected into pictures—and use them as signposts to everything else.
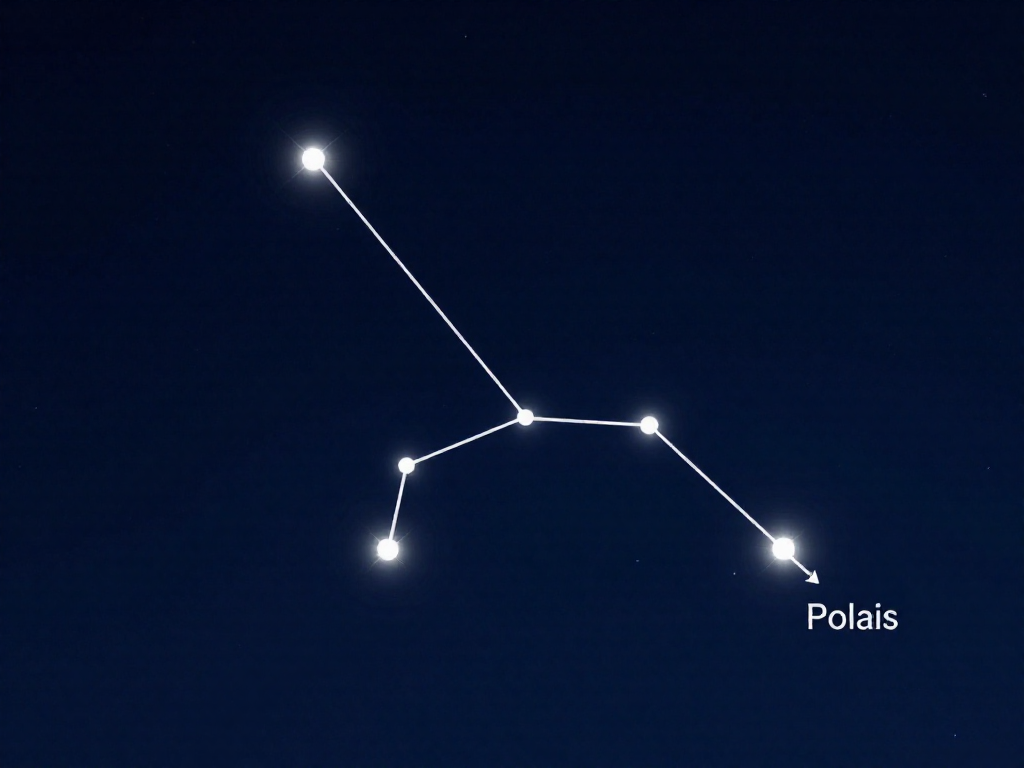
Start with the Big Dipper, a ladle-shaped group of seven stars that's visible most of the year from the Northern Hemisphere. Find the two stars at the end of the "cup," then draw an imaginary line upward about five times that gap. You'll land on Polaris, the North Star—the star that sits almost exactly above Earth's North Pole, so it barely moves all night. Find Polaris and you've found north, no compass needed.
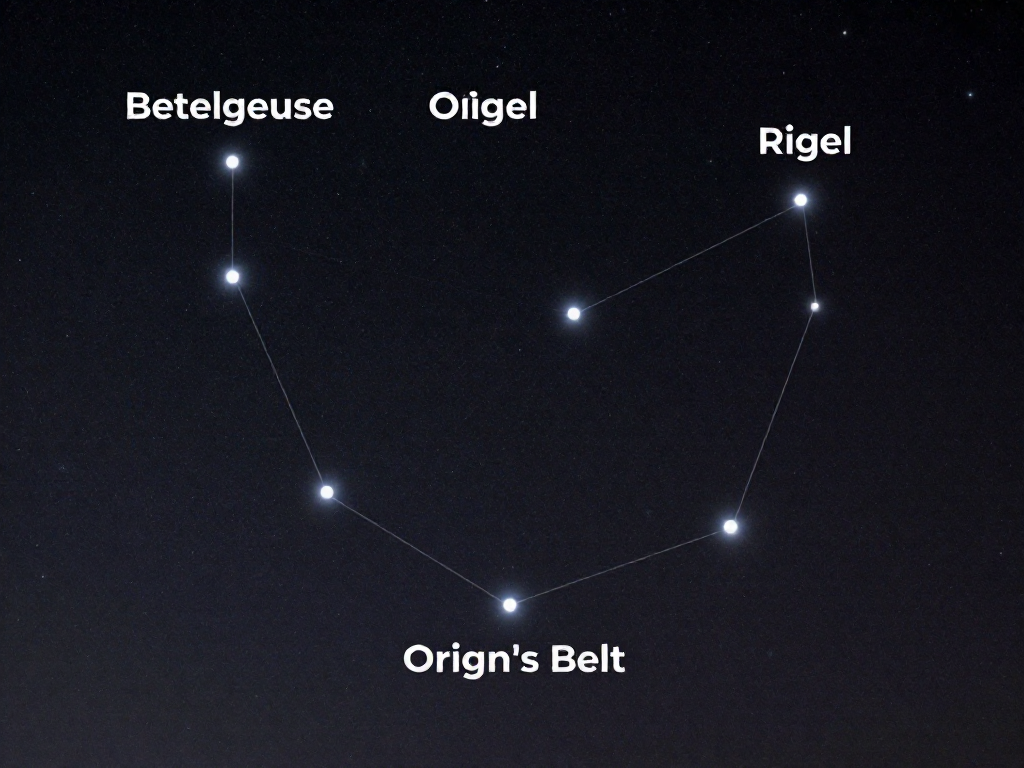
In winter, look for Orion the Hunter, arguably the easiest constellation of all. Its three evenly spaced "belt" stars in a short, straight row are unmistakable and make a perfect launchpad for finding neighbors.
This technique is called star-hopping: using a shape you already know to "hop" your gaze to a new one nearby. It's how every stargazer learns the sky.
One more thing—constellations drift with the seasons as Earth orbits the Sun, so Orion rules winter while the Summer Triangle takes over in warmer months (NASA, Night Sky Network). What's overhead in January won't be there in July, and that changing view is half the fun.
Quick takeaway: Master the Big Dipper, Polaris, and Orion first, then star-hop your way outward—season by season.
Step 4: Spot Cosmic Events—Meteor Showers, the Milky Way & the ISS
Once you're comfortable with the basics, it's time for the showstoppers—and the best part is that all of them are visible with nothing but your eyes.
Meteor showers. "Shooting stars" aren't stars at all; they're tiny bits of space dust burning up as Earth plows through a comet's old trail. A few times a year these turn into a full meteor shower, where you might see dozens per hour. The two most reliable for beginners are the Perseids (peaking around mid-August) and the Geminids (mid-December). No equipment needed—just lie back, let your eyes adjust for 20 minutes, and be patient. Best viewing is usually after midnight.
The Milky Way. That faint, milky band arching across a truly dark sky is the combined glow of billions of stars in our own galaxy. You need a moonless night far from city lights to see it. In the Northern Hemisphere, summer evenings (June–September) show its brightest part.
The International Space Station (ISS). This football-field-sized lab orbits about 250 miles up and looks like a bright, fast-moving star—no blinking lights—crossing the sky in a few minutes.
Plan your sightings. NASA's free Spot the Station site predicts ISS passes for your location, and apps like Stellarium or Sky Tonight flag upcoming shower peaks.
Quick takeaway: Time your nights around meteor showers, dark-sky weekends, and predicted ISS passes—no gear required.
Beginner Gear, Apps & Comfort Tips (Optional but Helpful)
You don't need anything to stargaze—but a few small comforts make it easier to stay out long enough to enjoy the show.
- Get horizontal. A reclining lawn chair or a blanket on the ground beats craning your neck. Looking straight up for an hour is surprisingly tiring, and a stiff neck ends the night early.
- Use a free stargazing app. Apps like SkyView or Stellarium let you point your phone at the sky and instantly see what star, planet, or constellation you're looking at—like a map that knows exactly where you're standing.
- Dress warmer than you think. Standing still under an open sky gets cold fast, even in summer. Add a layer beyond what feels right indoors.
- Try a printed star chart. A simple paper sky map is a screen-free alternative that won't ruin your night vision the way a bright phone can.
Quick takeaway: No equipment required—just stay warm, get comfortable, and let an app or chart guide your eyes.
FAQ
Can you really stargaze without a telescope?
Absolutely. Your eyes alone can reveal thousands of stars, several planets, the Moon's craters' shadowed edges, shooting stars, and even faint smudges like the Milky Way (the hazy band of our own galaxy) or the Andromeda Galaxy. In fact, naked-eye stargazing is the best way to start: it teaches you the layout of the sky, helps you spot constellations, and costs nothing. A telescope zooms in on tiny details, but it shows a narrow slice of sky at a time. For learning your way around the heavens and soaking in the big picture, your own two eyes are the perfect first instrument.
What is the best time of night to stargaze?
The darkest, clearest hours are best, which usually means from about an hour or two after sunset until the early hours before dawn. The key is true darkness, called 'astronomical twilight's end,' the point when the Sun is far enough below the horizon that its glow no longer washes out faint stars. As a quick takeaway: aim for a clear, moonless night, get away from city lights if you can, and give the sky time to fully darken. Late evening through the small hours after midnight often offers the steadiest, darkest skies.
How do I tell a planet from a star with just my eyes?
Here's the simplest trick: planets shine with a steady light, while stars twinkle. Stars are so far away they appear as single points, so Earth's shifting air makes their light flicker. Planets are much closer and look like tiny disks (too small to see as disks with the eye, but big enough that the flickering averages out), so they glow steadily. Planets also tend to be among the brightest 'stars' you see, and they don't appear in the familiar constellation patterns. Venus and Jupiter are especially brilliant. A free stargazing app can confirm what you're looking at.
How long does it take for your eyes to adjust to the dark?
Give your eyes about 20 to 30 minutes to fully adapt, a process astronomers call 'dark adaptation.' In dim conditions your pupils widen and your eyes ramp up their light sensitivity, like a camera slowly raising its sensitivity setting. The catch: a single glance at a phone screen or bright light can reset much of that progress in an instant. To protect your night vision, use a red flashlight (red light interferes the least with dark adaptation) and keep bright screens out of view while you observe.
What can beginners see in the night sky without equipment?
More than you might expect. On a clear, dark night you can spot: (1) thousands of individual stars and famous patterns like the Big Dipper and Orion; (2) bright planets such as Venus, Jupiter, Mars, and Saturn; (3) the Moon and its changing phases; (4) the Milky Way, the glowing band of our home galaxy seen edge-on; (5) shooting stars, especially during annual meteor showers; and (6) satellites and the International Space Station gliding silently across the sky. Even from a moderately dark backyard, the Andromeda Galaxy, the most distant thing visible to the unaided eye, appears as a faint, fuzzy patch.
Does the Moon make it harder to stargaze?
Yes, a bright Moon acts like natural light pollution, washing out fainter stars, the Milky Way, and dim galaxies, much as a streetlight drowns out a candle. A full Moon is the toughest time to see faint objects. The good news: the Moon itself is a wonderful target, and its craters and 'seas' (the dark, smooth plains) look striking near the line between its lit and dark sides. For the deepest, darkest skies, plan around the new Moon, when the Moon is absent from the night sky, or stargaze before it rises or after it sets.
See also
- A guide to upcoming meteor showers and how to watch them
- How to find the Milky Way from your location
- Beginner's guide to the planets visible tonight
- Understanding light pollution and how to escape it
- Best free stargazing apps for beginners
Related articles
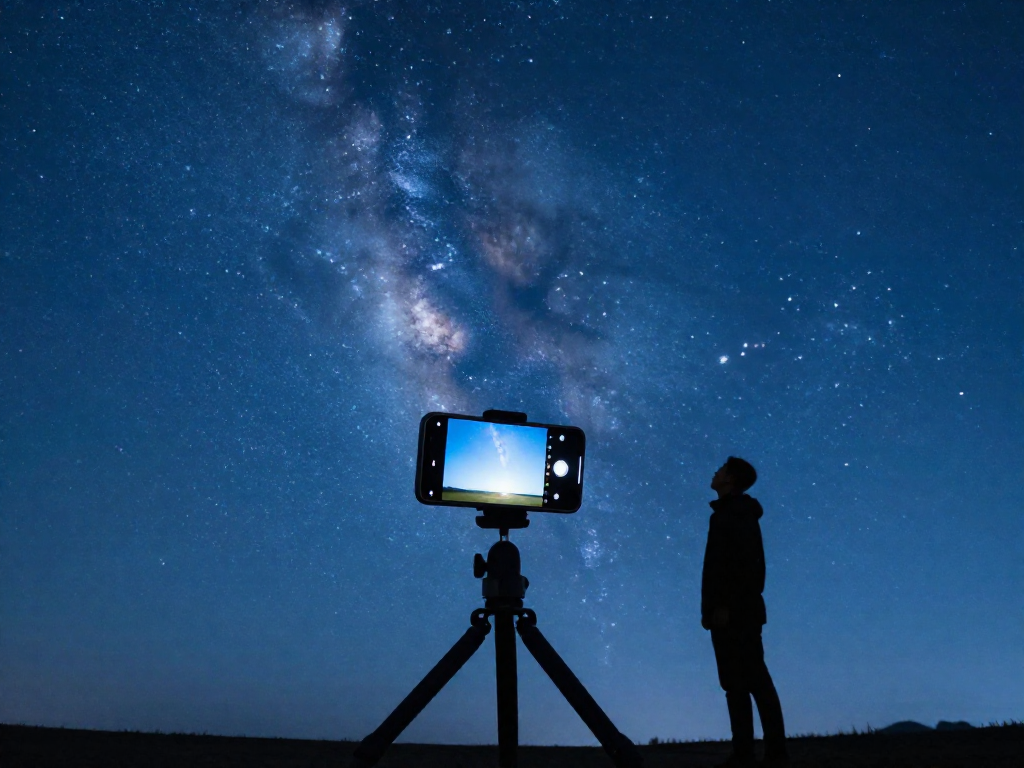
How to Photograph the Night Sky With Just a Phone
Yes, you can take stunning night sky photos with just a phone. Learn beginner-friendly settings, gear, and tricks to capture stars, the Moon, and the Milky Way.
Jun 29, 2026 · 11 min read
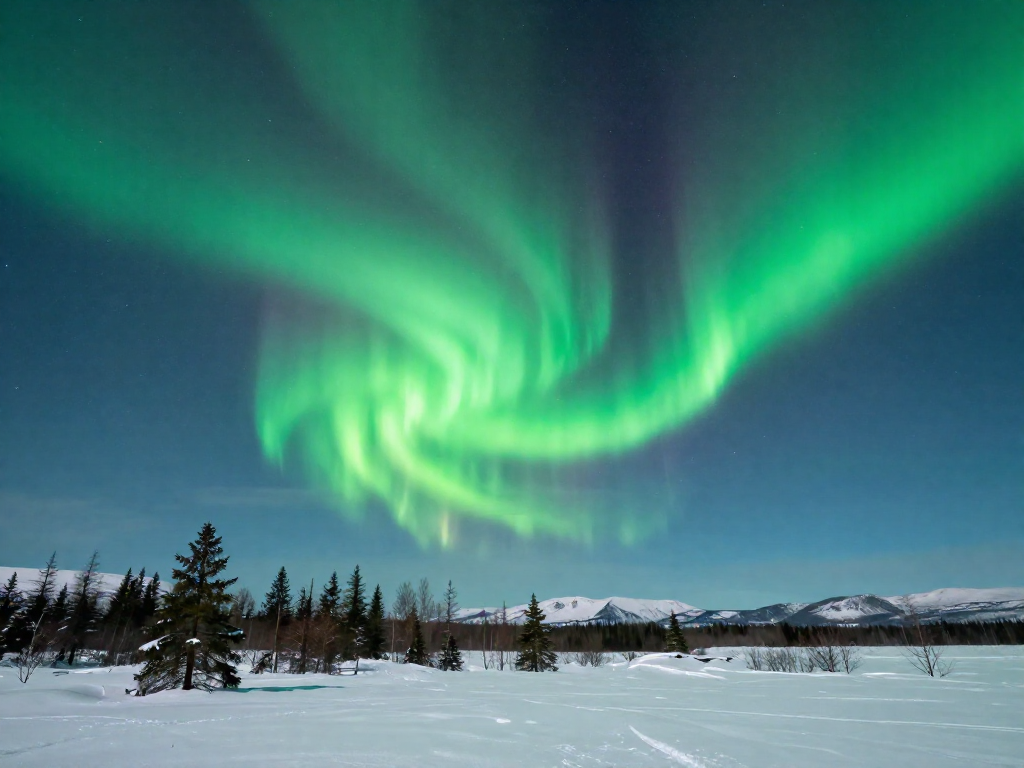
What Causes the Northern Lights, and Can Beginners See Them?
Curious about the Northern Lights? Learn what causes auroras in plain language, where and when to see them, and realistic tips for total beginners.
Jun 29, 2026 · 8 min read
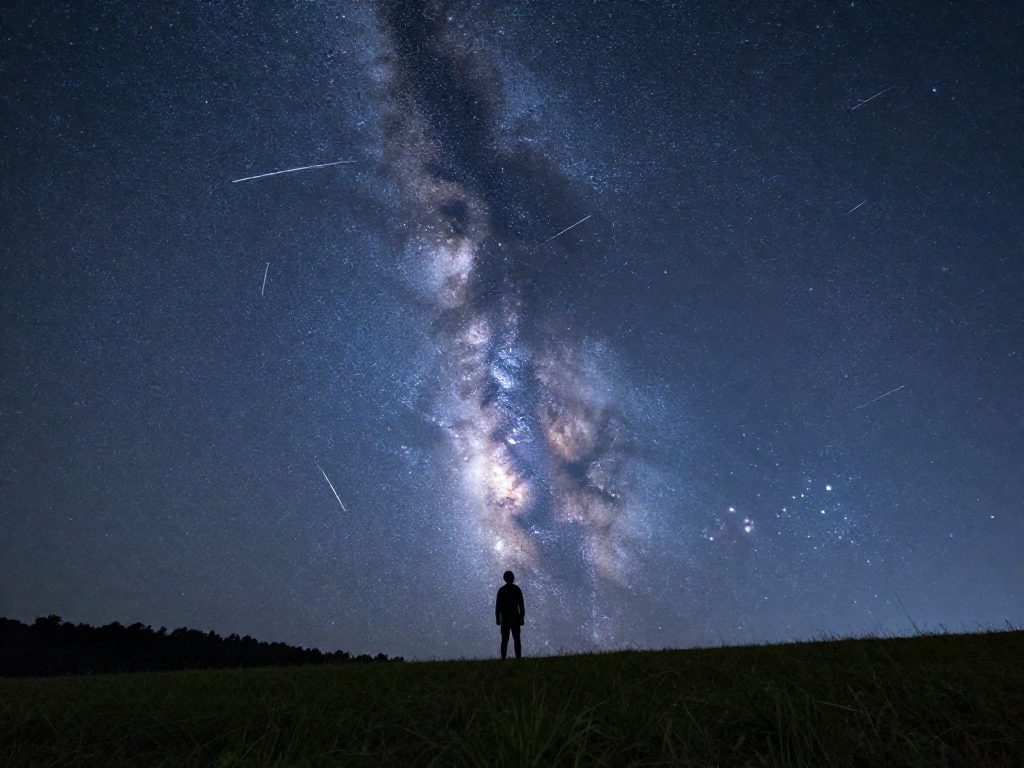
A Beginner's Sky-Watching Calendar: Events Worth Looking Up For
A simple year-round sky-watching calendar for beginners. Discover meteor showers, eclipses, and planet sightings worth looking up for—no telescope needed.
Jun 29, 2026 · 5 min read